How To Build An Outdoor Kitchen With Metal Studs
 An outdoor kitchen is a perfect way to entertain guests and family members. Having a kitchen on the outside will offer you a great way of freedom. Generally, these kitchens have lots of wonderful cooking gadgets. You may not get these features in the indoor smoker or gas grill. You may have noticed some people grilling in the outside garden. Probably, you want to do the same. A good idea is to understand how to build an outdoor kitchen with metal studs using your own skill. Now we will discuss with you the steps that you’ll need for building an outdoor kitchen with metal studs. In today’s post, we are going to discuss the steps you need to take to build your own outdoor kitchen. Let’s jump into the post!
To build an outdoor kitchen, we will pinpoint on some steps as:
Make The Perfect Plan
Before starting to build it, you should begin with a perfect plan for the outdoor kitchen. The first thing to consider is the proper dimensions of every component you need to include in the kitchen. Things like doors, sink, grills, fridge, etc. For that reason, you must have a clear and complete image of everything. Simply, you should search for the catalogs that are offered by the hardware suppliers. Generally, you would be able to find a lot of sets of dimensions for every hardware. An amazing technique is to ask anyone for a look over your plan. A good wisher can identify any susceptible errors, which is important before you begin to build it. But, if you use any contractor for your building process, they will be offering you some amazing tips.
1. Get The Proper Tools

You have to think about the right tools. If you want to work with the steel studs, this possibly means you will definitely require some special tools. If you don’t want to buy, you can hire these from any rental stores. Here’s are some tools you need to use:
- Hammer drill.
- Level.
- Metal cut-on saw.
- Screw gun.
- Fasteners.
- Chalk box.
- Laser level or plumb bob.
- Clamps.
2. Consider How Many Studs You Require

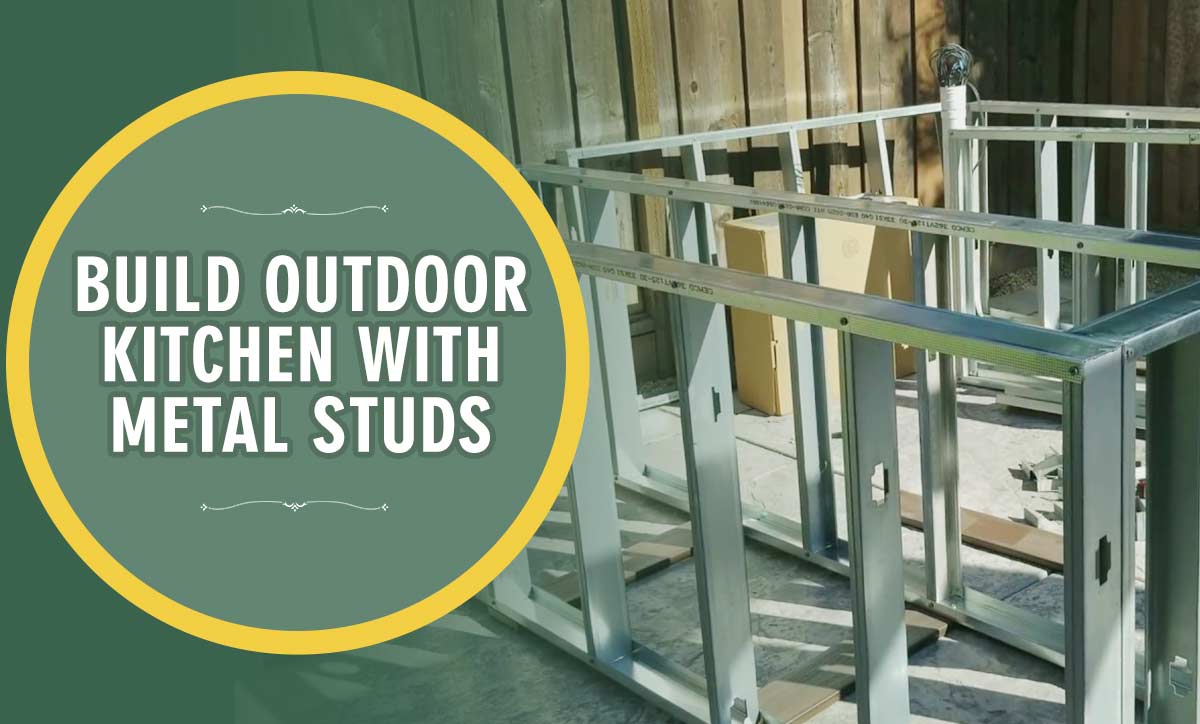
The next step is understanding how to build an outdoor kitchen with metal studs. This will start by estimating how many studs you require. Usually, you can use 1 stud on per 12 inches, particularly when you are building any wall. Steel plates are used for the top and bottom of the construction. So you might require these.
3. Use Chalk For Drawing The Lines
Chalk is very useful to decide where every piece of stud or furniture goes. If you want to build on a floor, you can easily use the chalk for seeing the area you would require. Marking the limitations of the surfaces. And you will have to cut, stick, saw, etc.
4. Screw-In The Right Tracks
Metal stud framing for the outdoor kitchen is on the way to build up. Here, you should start by screwing into the lower tracks. Observe the chalk marks you drew previously while positioning the lower tracks. They are bigger due to supporting the weight of the overall project. First, you are required to drill the hole into the track and stud. Then, you have to connect them with the screw. If you drill the hole straight through the concrete, then you have to use a power nailer or hammer drill. This will help you to do it rapidly. However, if you use longer straight runs, fold the tracks for about 6 inches. Lastly, secure this with the concrete screw. These further measures will help you get a more heavy structure.
5. Plumb The Track
The upper and lower tracks need to be plumb. For this, you have to use the plumb bob and two water levels. If you use the laser level, put it into the bottom of the track. Many contractors recommend using the laser level as it’s efficient to use. Although, the plumb bob will work in the same way.
6. Cut the Steel Studs
The next step is adjusting the studs. Bend one edge of the stud up. Then trim it through the snips’ jaws. While doing any kind of heavy work, you should always protect the hands with proper gloves. For cutting several pieces, you can use a miter saw.
7. Unite the Studs to Tracks
Now, you have to unite the studs to track. Although, there is a problem here. You should use the clutch setting for driving the screw appropriately.
8. Make The Metal Headers
Cut the track into two inches longer compared to the opening width. Each edge of the track has a minimum length of 1 inch. Then, bend the web into 90 degrees down with the help of a few sheet metal locking grippers.
9. Pour Concrete
You can pour the concrete with the frame. This will ensure that your kitchen will last for a long time. Besides, you can use concrete panels. A cheaper way will use wooden or plywood panels. But they are not strong enough. Although, you can use this to save money.
10. Pull Some Electrical Cables
You have to pull the electrical cables straight through the structure. For the best result, you can use plastic ties which are screwed towards the studs.
11. Wood Blocking
If there are any areas that are not covered, you can use a few wood blocks. This will enhance the beautification of the kitchen.
12. Add Veneers And Counters
The last step is to add the veneers and countertops. Finally, you can use a veneer which you like: stones, tiles, stucco, etc. It’s necessary to use strong materials as the kitchen will remain outdoors always.
13. Take Care of The New Built Metal Kitchen
After installing and building, all you have to do is maintenance. By taking proper care, you will get an amazing outdoor kitchen.
Conclusion
So, it’s not that difficult to understand how to build an outdoor kitchen with metal studs. However, it may take some preparation and work. For this reason, some like to hire a contractor or even want to purchase the readymade outdoor kitchen. But there is no comparison with the satisfaction of building your own outdoor kitchen. Let’s explore this!
Read More

