How to Use a Gas Grill [Step By Step Guide]
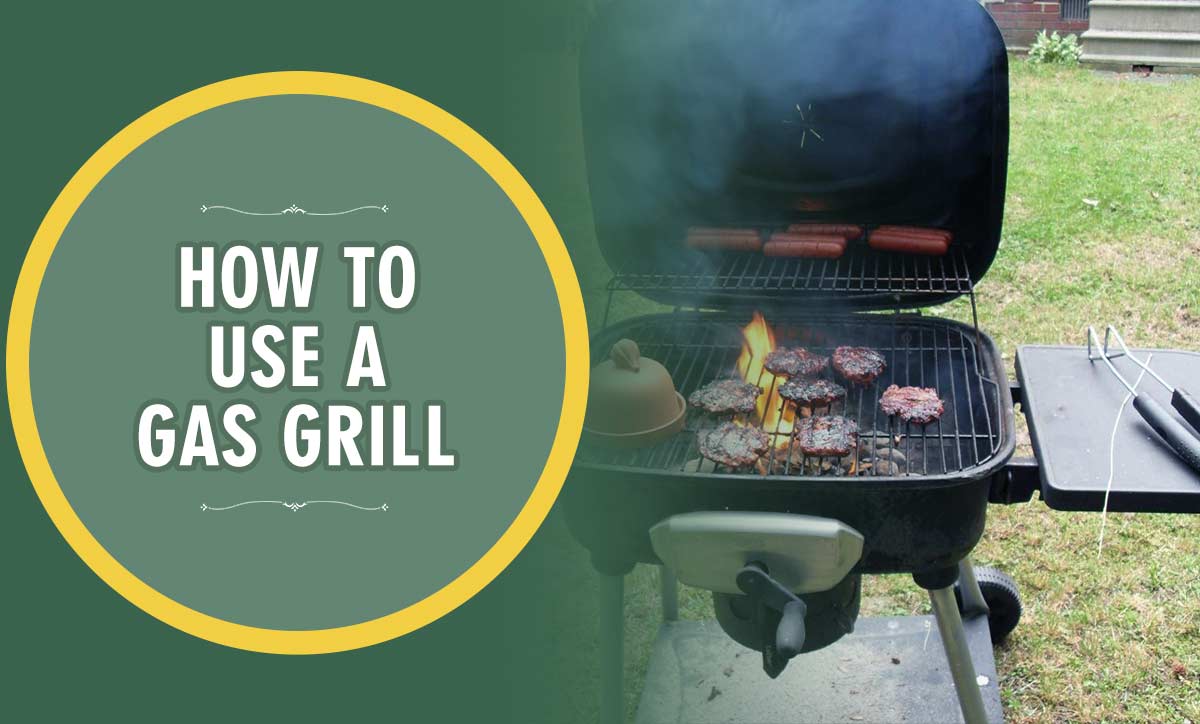 Grilling is one of the most famous art forms of cooking. Nothing is more delicious than the taste and smell of grilled food. There are different types of grill and each of them have a method of use. Gas grills are convenient and easy to use tools, but you have to know the use to take advantage. There are some basic rules and all of them will make you a great griller. In this article, we’ll cover all the things you need to know practically how to use a gas grill.
Tools Required:
- Gas grill.
- Roasting pan.
- Meat thermometer.
- Mini fire extinguisher.
- Stainless steel scissors, wire brush, spatula and tongs.
- Grillable foods.
- Source of Natural or Propane gas.
How to Use a Gas Grill: Step-By-Step
Step 1: Turn On and Hook Up the Gas
Firstly, you have to know your gas grill is designed for burning natural or propane gas. Most commonly, gas grills use propane gas as a fuel. You can get this gas from any portable small tanks. Some of them are connected to the gas supply of any house. You have to find the grill’s regulator and hose of the gas supply. If the grill uses propane, place the regulator into the valve of the propane tank’s top. Make and be sure to thread all properly, never over-tighten it.
Whenever the tank runs out, you can easily install the new tank and continue the cooking.
You can keep a reserve of a second tank to continue the supply of propane. Then, you can swap out the previous tank or can the empty tank refill it before the next grilling. Also, keep a fire extinguisher in case of any emergency.
Step 2: Light Up the Grill
Never try to use any gas grill indoors. Make sure that your gas grill is in a well-ventilated outside place before lighting. Most of the latest gas grills have an igniter button. So, find out where the igniter button of your grill is located at. If you find it, press the igniter button and hold down. At the same time, slowly turn the control knob of the burner closest to this. Observe through the grates of the cooking to see the burner tube ignition. You can notice some small bluish colored flames.
Once it’s lit, you have to stop pressing the button. Control knob of the burner should be turned off and then the igniter button will be released. The burner is not lighting within a couple of seconds in some cases. In this situation, you have to wait for two minutes or more. The releasing gas dissipates with time. After this, try again. Repeat the process until all of them are fully lit the entire burner.
Step 3: Clean & Preheat The Grill
In this step, all the burners should be turned to the maximum heat. After that, the lid should be closed. You have to wait until the grill is reaching at 400 F, so wait about 10 or 15 minutes. Then decrease settings of the burner to medium heat.
Nowadays, most of the gas grills are built-in thermometer facilities. This thermometer will inform you about the internal temperature. You have to open the grill’s lid whenever it reaches the desired temperature. Always be careful about dealing with it.
You can use a stainless steel brush to clean all of the debris from the cooking grates. Debris from the last grilling sessions easily may not flake off and dry. Also, close the lid for allowing the appliance to heat up. It can be done more before using the brush.
Therefore, preheating is already implied in this stage. Also, you have to be cautious about cleanliness.
Step 4: Place the Food on the Appliance
In the stage, you have to place the food into the appliance. Choose a simple way for cooking meat for the first grilling time. Such as steaks or burgers are perfect options for you. Hence, these don’t require to be well done properly for tasting good. They are not only easy but also safe to consume. Place all the meat at the same time on the grill. You have to leave at least an inch of space between each piece.
Resist the rebuke to initiate the flipping early. Allow the meat to cook for some minutes at moderate heat until the inside is properly browned. When you consider, the food is ready to flip, use your spatula or tongs to test any piece. If it ends up on the grill smoothly without sticking, it’s the best time for flipping. Flip all the pieces of meat whenever they are ready. So, you are getting closer to enjoying the grill.
Step 5: Complete the Cooking Process
Inspect the food for checking any parts cooking slower or faster than others. This can occur at the time of maximum grilling sessions. Because temperatures of the cooking surface can alter.
Normally, the backside of the grills is warmer than the portion of the front. Manage the process of cooking by swapping little cooking meat with bigger pieces. This will complete the cook of all the pieces at the same time. Flip the portion of the meat more times at the time of cooking. Press it with the spatula for testing the firmness. Raw meat is usually soft, on the other hand, meat is firm when cooked properly. You can use any meat thermometer for observing it.
Use stainless steel scissors to cautiously cut open any portions of meat. If you cook burger patties, the middle portion should be juicy and browny. Insightly, steak can be brown or pink, depending on your preference.
Step 6: Shut Down The Appliance
In the end, shut off the burners. You should double-check the positions of the knob. It will verify no gas flowing. Properly turn off the supply of the gas valve. Wait until the grill has cooled down perfectly. Then, conclude the lid while protecting it from a grill cover with elements.
Conclusion
Nothing is more delicious than the taste and smell of grilled food. Gas grills are popular to prepare grilled food with their convenient use. These step by step directions will help you even if you never fired up a gas grill before but want to learn. Once you learn properly, your grilling will come to be full of fun and enjoyment. The convenience, quality and speed of cooking they offer is next to none.
Read More